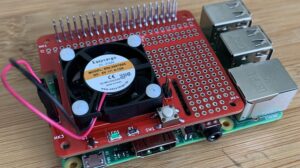
It’s time to dump the breadboard rats nest and say hello to the Proto-Power Hat. Get organized, get making and finish twice as many projects as ever before!
Every Raspberry Pi project that I have worked on has needed the following three things: a power button, active cooling and extra voltage rails. After re-building the same fan enable circuit for the third time, I decided to create the Proto-Power Hat. This is the ultimate Raspberry Pi prototyping hat to jump start your next project!
While all the design files are available for free, you can buy a fully assembled Proto-Power Hat on Tindie!
features:
- Cooling fan lets you push it to the limit while keeping the Pi running smooth
- External power button integrates into any case with ease
- Large prototyping area for endless possibilities
- Tons of voltage and ground rails for all your circuit needs
Overview:
Power Button:
The Raspberry Pi does not have a built in power button. Since the Pi is a computer, it’s important that you don’t use the power plug to turn it off and on. You wouldn’t pull the chord on your desktop computer to shut it off everytime and you shouldn’t do it with the Pi either. It needs to be properly shutdown else issues will eventually manifest.
But it’s a hassle having to run the ‘sudo shutdown’ command every single time. Luckily, the Pi can be configured to wake up and shutdown by grounding GPIO3. The Proto-Power Hat takes advantage of this and provides an onboard power button. It also has the option to use an external power button if needed. This power button is hooked up to a power indication LED.
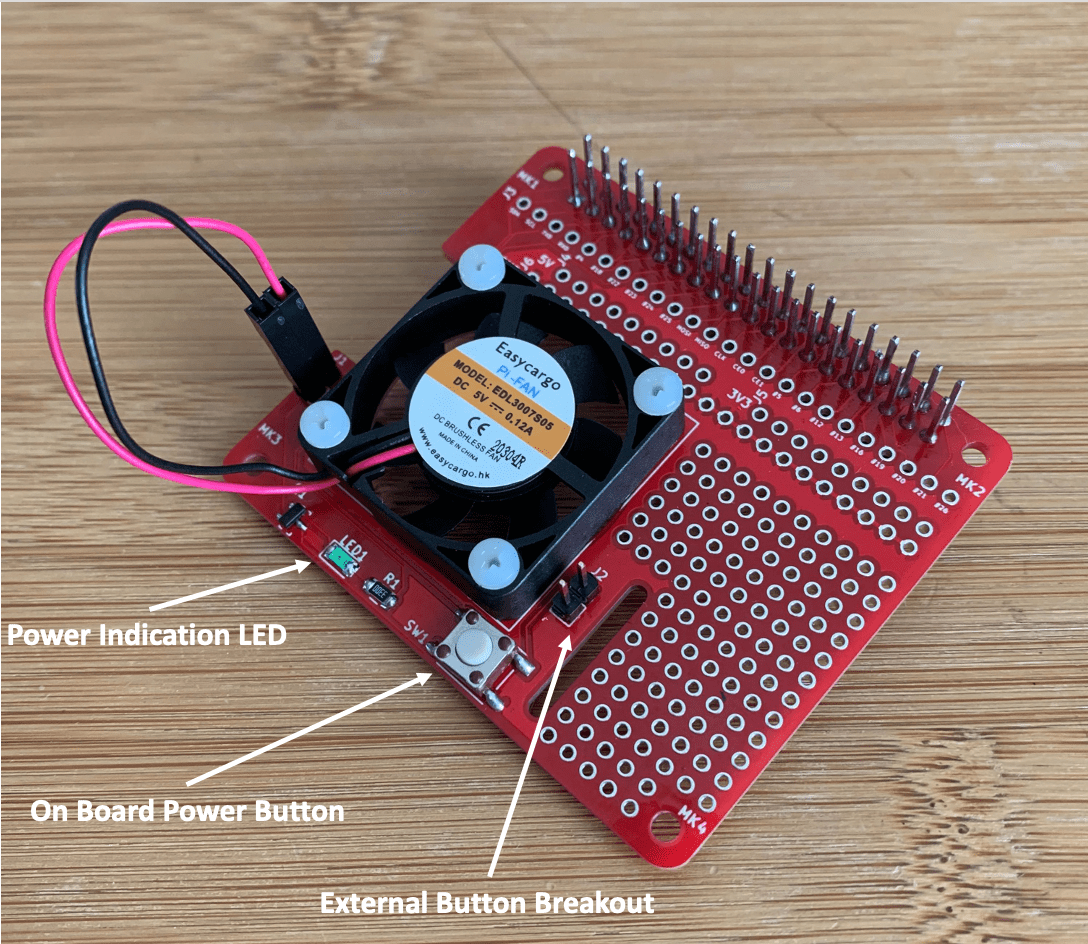
Cooling:
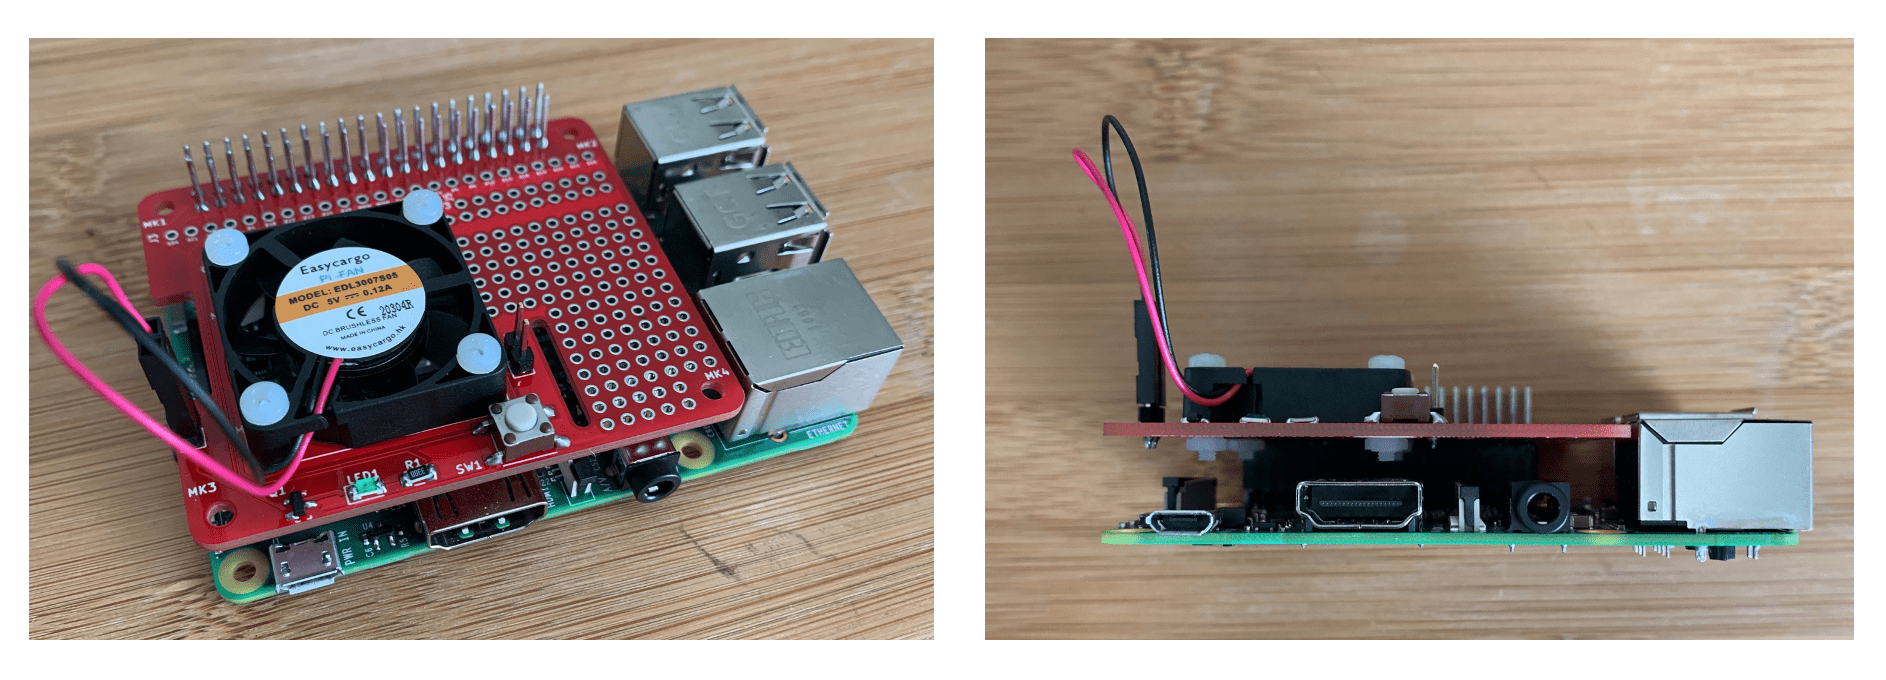
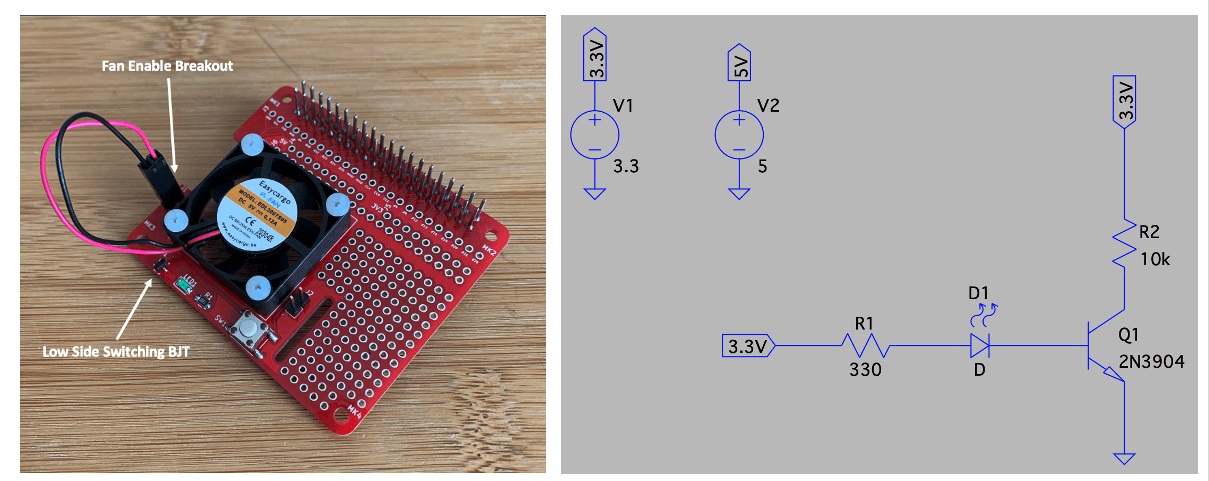
Most Raspberry Pi projects run hot, especially when running for long periods of time in an enclosure. Most cheap heatsinks are very small and do not provide adequate heat dissipation. The Proto-Power Hat has a small fan that keeps the Pi cool during the heaviest work loads. The fan is powered from a BJT low side switching circuit that’s tied to the power button. It will automatically turn on and off with the Pi.
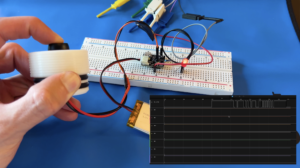
Below is the schematics of the this fan enable circuit. GPIO7 is enabled at startup which drives the BJT, turning on 5V power to the fan circuit. This allows you to leave your Pi plugged in to power while it is in the “halted” state without wasting any energy.
The schematic shown uses R2 to simulate the fan. The top of R2 would connect to the 5V input of the fan and the bottom side of the resistor would connect to the fan ground.
Prototyping:
The Proto-Power Hat has nine 5V rails, nine 3.3V rails and 21 ground rails. It breaks out every GPIO signal and includes a small 25mm x 35mm through hole prototyping area for building up external circuits.
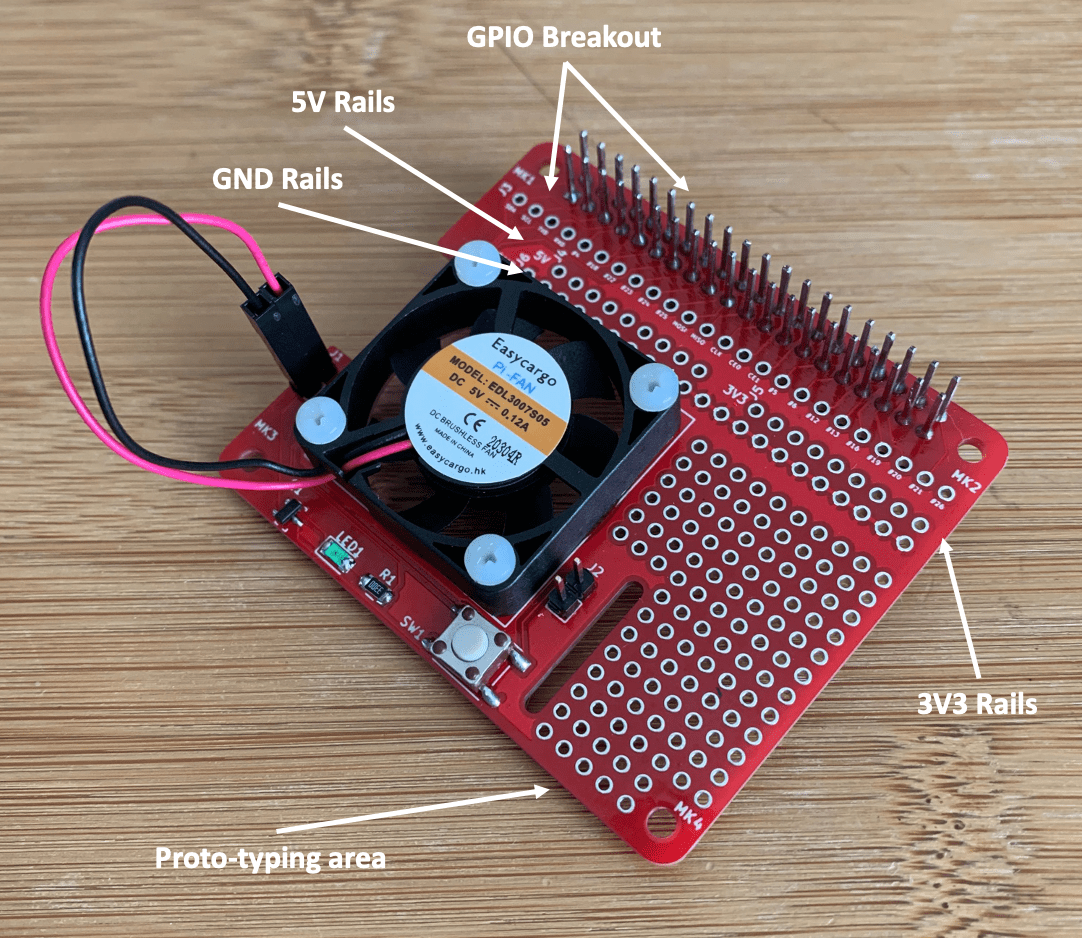
Drivers / Gerbers:
Repositories:
Driver Installation:
The above repository was forked from the following howchoo article, how-to-add-a-power-button-to-your-raspberry-pi.
Automatic Installation (Recommended):
The easiest way to install the needed software drivers is to run the provided installation script as shown below:
git clone git@github.com:BradenSunwold/pi-power-button-with-fan.git
./pi-power-button-with-fan/script/install
That’s it! This installation script automatically completes all of the steps in the manual installation guide below.
If you’re not comfortable with using git, just go to the repo and click “download as zip”. Copy the zip file from your computer to raspberry pi using scp or a thumb drive and unzip the file using the command “unzip”.
Manual Installation:
The software drivers rely on one main python script (listen-for-shutdown.py). It waits for a falling edge on GPIO3 to facilitate a soft shutdown. It also enables GPIO17 on a power up to drive the fan enable circuit. This python script called from a bash script (listen-for-shutdown.sh) that triggered on system startup. It runs autonomously in the background. Take a look at these files to understand how they work and copy them into scripts on your Pi.
If completing a manual install, place the .sh script into the /etc/init.d folder and ensure that it is executable:
sudo cp listen-for-shutdown.sh /etc/init.d/
sudo chmod +x /etc/init.d/listen-for-shutdown.sh
Then register the .sh script to automatically run on boot up:
sudo update-rc.d listen-for-shutdown.sh defaults
Notes:
The Proto-Power Hat uses GPIO3 as the wake and shutdown pin. The Raspberry Pi defaults this pin as the wake up pin. The fan enable circuit is driven from GPIO17. The PCB was created using KiCad.
If you found this content interesting or useful, buy me a coffee!
Bitcoin Wallet:
bc1q0vkx34w5y4yt5nq38a4rvk7gvgnxm2xv5lvyft





2 thoughts on “Raspberry Pi Fan Enable Circuit”
Hello Braden,
interesting PI Hat. I am looking for a solution for SBC (primarily Raspberry PIs 3+ and 4) using PoE Hat powering over Ethernet, but also adding a UPS in case the PoE providing Switch goes down or the network cable is unplugged. But sofar that does not seem to be possible.
That’s an interesting idea. From what I understand, the PoE hats power the Pi directly through the 5V pins on the GPIO header (https://github.com/raspberrypi/hats/blob/master/designguide.md#back-powering-the-pi-via-the-gpio-header) so I wonder if you could do some sort of diode ORing with the PoE input power and a UPS into that pin? But it might get messy cutting traces or figuring out where to mod existing products